I can't remember the last time I knew where my hair barrettes were in our place. They must be hiding with all those socks that are eaten by our dryer.
In efforts to replenish my stock and from inspiration from this blog post here, I decided to DIY it. I mean, I have all those barrette blanks I bought at years ago. Time to actually use them. Does anyone else stockpile craft supplies?
I've been a bead collector pretty much for half my life. It was time to put those vintage African trade beads to use. See? I used leather to attach the beads to the barrette and black embroidery floss to weave in between them. The floss added extra security to keep 'em from moving and shifting around.
Since I keep all my fabric scraps, I thought I'd make a bigger barrette and have this barrette be more fluffy - like a party on your head. I literally just cut scraps of fabric and knotted them onto the barrette blank. I know she is my daughter, but could Lil O's hair be any shinier or prettier?
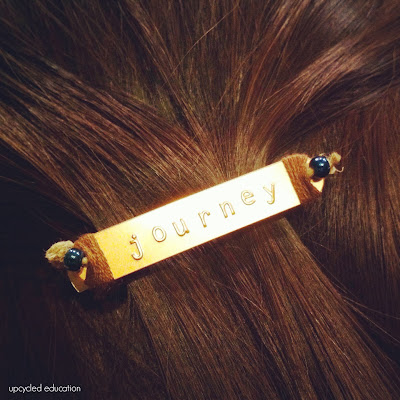
This last barrette is my favorite. I love typography. For this, I used a scrapbook embellishment "journey," brown embroidery floss, a few beads, and some chunky twine-like string at the end. I should mention, I don't even scrapbook. Where do I get this stuff?
This one feels very outdoorsy to me. It has a totally Colorado-let's-explore-the-west feeling.
Now, that I've made a few simply using the supplies I had on hand, I think DIY barrettes would make great birthday gifts for friends and family in 2014. Plus, this is a very kid-friendly project. The sky is the limit!
Almost 2014,
Jen


